Guide reviewed against the sources below on July 15, 2026.
How to identify a necklace from a photo
Lay the necklace flat and identify its basic construction first: chain, pendant, locket, beaded strand, collar, choker, or multi-strand design. Next, photograph the clasp and any small tag beside it. Link shape, clasp construction, stone arrangement, and marks usually provide better identification clues than the front view alone.
Common necklace types
Compare the overall form first, then use the construction details to narrow the style.
- Chain necklace
- The links are the main design. Common visual families include cable, curb, rope, box, snake, wheat, Figaro, and paperclip chains.
- Pendant necklace
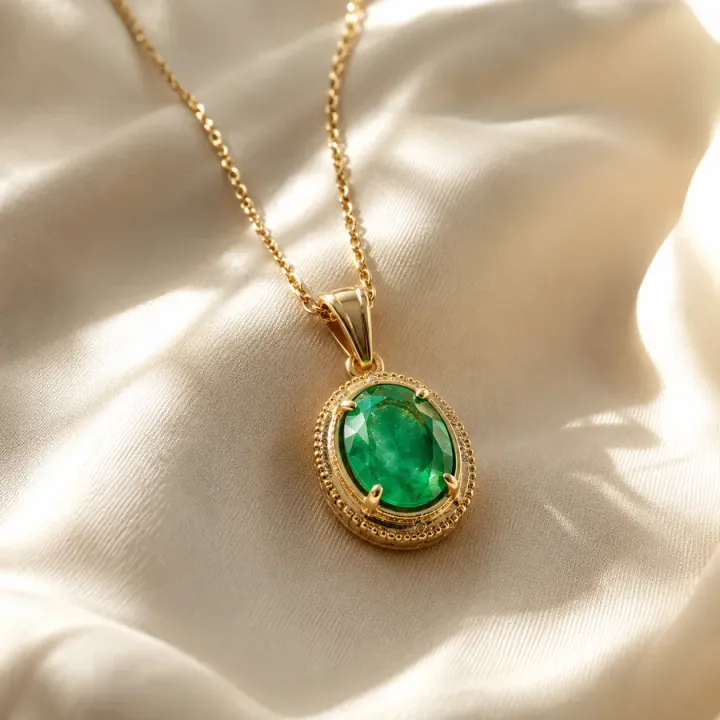
- A chain supports a separate focal element such as a gemstone drop, medallion, cross, charm, or sculptural pendant.
- Locket
- A hinged pendant opens to hold a photograph, inscription, miniature, or keepsake and may reveal marks inside.
- Beaded or pearl strand
- Repeated beads or pearls are threaded or knotted, sometimes graduated in size and finished with a box, fishhook, or decorative clasp.
- Collar, choker, or bib necklace
- The necklace sits high on the neck or creates a broad decorative front using rigid metal, linked panels, stones, textile, or multiple strands.
How to examine the necklace step by step
- Separate the chain from the focal piece. Describe the link pattern and the pendant, locket, beads, or stones independently. They may have different makers, materials, or ages.
- Identify the clasp. Look for a spring ring, lobster clasp, box clasp, toggle, hook, barrel, magnetic closure, or fishhook-style pearl clasp.
- Follow the construction. Check whether links are solid or hollow, stones are set or glued, beads are individually knotted, and the pendant is fixed or removable.
- Search every surface for marks. Inspect the clasp, jump ring, end tag, pendant back, bail, locket interior, and metal findings between beads.
Marks and details worth photographing
- Small tags, jump rings, and flat surfaces beside the clasp
- The reverse of a pendant, the inside of a locket, and the pendant bail
- Letters or symbols on box clasps and metal findings between strands
- Signs of replaced clasps, solder repairs, stretched links, or worn plating
What affects necklace value
A useful estimate starts with the details a buyer would compare. Record these alongside the GemPeek result so you can narrow your searches and compare genuinely similar pieces.
- Metal content, chain weight, link construction, length, and condition
- Gemstone or pearl identity, size, matching, treatments, and setting quality
- Designer or maker, age, provenance, original clasp, and complete matching elements
- Wear at the clasp and jump rings, broken links, missing stones, repairs, and plating loss
Photo checklist for a stronger necklace identification
- Lay the entire necklace flat in its natural shape and keep every edge inside the frame.
- Take a close-up of five to ten links so the chain pattern and construction are clear.
- Photograph the front and back of the pendant, clasp, end tags, and every readable mark.
- For pearls or beads, show the drill holes, knots, clasp, surface texture, and size graduation.
Continue your jewelry research
Use the jewelry value estimator guide to understand the factors behind a price range, or follow the jewelry photo checklist before your next scan.